April 2017
Dash Shawl Knitalong Week 4

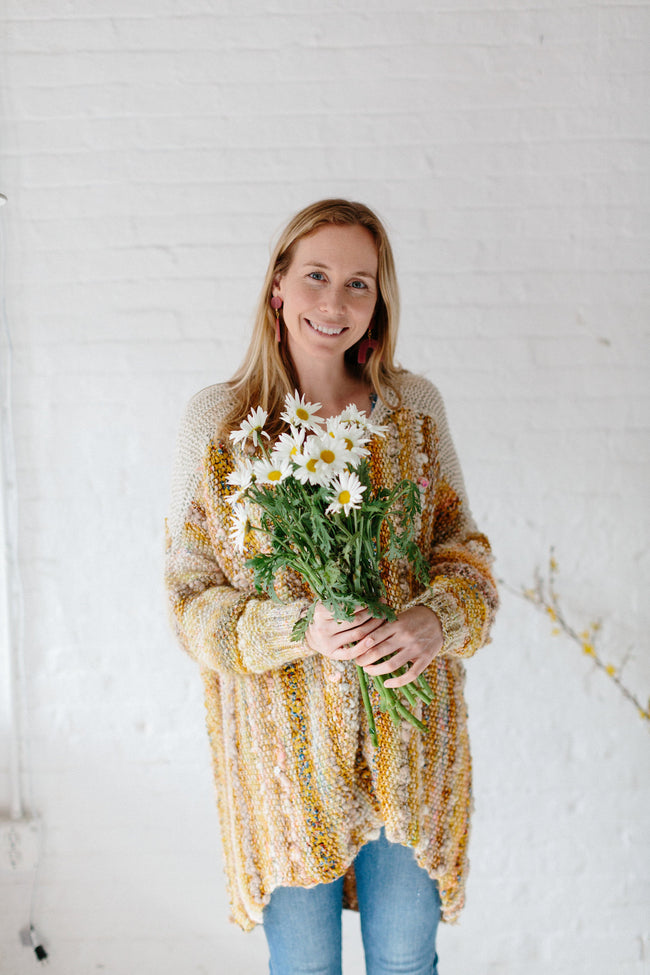
The time has come to weave in that Pixie Dust yarn, yahoo! This week is the FINAL week of the knitalong so my plea to you is to please, PLEASE, email me photos of your finished shawl or shawl-in-progress. Email me at amy@knitcollage.com Or share your pics on the knit collage facebook page or on Instagram with the hashtag #knitcollageKAL I'm going to post these in a round up blog post and also create a pinterest board where I'll share them all. This is truly the fun part - seeing each other's work. It may inspire you and make you think about the project in a different way or maybe it will just be a nice place to cheer each other on and say wow, that's stunning. Please, please share - thank you! Ok, let's get started.
Video 5: Customization overview
Video 6: Let's weave in that Pixie Dust yarn
Things to consider:
* Start at the center of your shawl and work out
* For each vertical stripe of Pixie Dust yarn, measure the length of your shawl and add 12"-14". The extra yarn will become 6"-7" of fringe at the top and bottom along your shawl.
* After you have your cut length of Pixie Dust yarn, start from the bottom triangle side and work to the flat top edge, coming in through the back of the shawl at the first yarn over hole. See video for reference!
* We alternate yarn over rows and weave the Pixie Dust yarn through every other row, not every row.
* To customize, consider creating your own vertical stripe pattern, weaving the yarn through every row or however you like...perhaps in clusters! You could also pick up another skein of Pixie Dust and do different colors!
* Lastly, I show you how to add the Sister yarn fringe in this video.
* One question that came up this week was how to secure the Pixie Dust yarn in your shawl using the Sister yarn fringe - here are a few photos to show you how to do that.
Step 1 - lace your Sister fringe yarn through the bottom stitch of the shawl as you normally would - see pic below for reference.

Step 2 - lace your Pixie Dust yarn through the loop created by the Sister yarn - see pic below.

Step 3: Lace fringe as you normally would - leave Pixie Dust as is. Now the Pixie Dust yarn should be secured in by the fringe loop safely on the back side of your shawl.

That's it for this week guys! As always, get in touch if you need help and please share your work with me. I can't wait to see how they all come out!
XOXO ~ Amy